Posted 8 years, 5 months ago
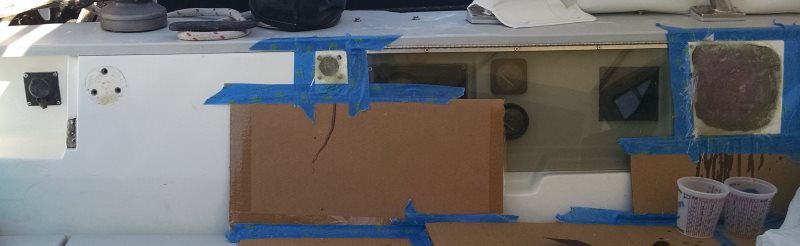
When I purchased Aeolus it had four separate jacks, fittings, and mounts on the port side inner cockpit coaming. I used all of them at one time or another, but always found their placement problematic at best and their utility marginal. The Pretorien cockpit is already pretty tight, and it doesn't help to have one side burdened by all of these pokey bits jabbing you in your back right in the prime seating positions.
One jack was for the VHF remote microphone, one was a simple accessory power jack which I made use of last summer to connect a removable semi-flexible solar panel, one was a mounting point for the old Simrad tiller pilot, and the fourth was the combined power and NMEA data jack for the tiller pilot.
Several years ago I installed a below-decks autopilot, so I no longer have use for the tiller pilot other than as a backup. The 12V accessory jack I used for the solar panel is garbage quality, and I don't want the solar wires running to this position long term, so it could go away too. The one thing I need is the VHF microphone, and there are very good reasons to move its jack: it has previously been broken by being leaned on, and its position is a bit too distant from the tiller to be very useful to the skipper. At the 2017 Wauquiez Rendezvous, I saw Arctos had the same Standard Horizon RAM microphone mounted in the small recessed storage space towards the rear of the port side cockpit coaming. Great, all four back-breakers can go away and I get a more functional VHF microphone location. And there are some other abandoned screw holes and other cosmetic touchup needed in about four other spots around the cockpit.
This was an ambitious project to start just about 12 days before the start of the summer cruise. My contingency plan was to get the holes all plugged but maybe have to punt on the cosmetic finishing steps.
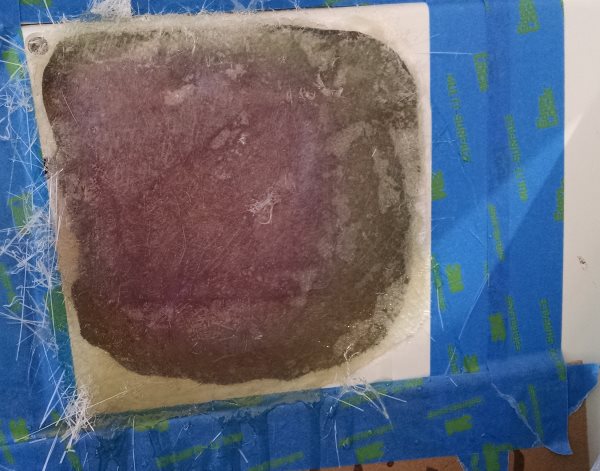
The sample. Thanks Henri for the thick layup!
I took a sample to Fiberlay in Kent to get some gel coat custom tinted to match. How do you get a sample? You embiggen the hole you are already fixing to cut out a big piece of scrap. Fiberlay wanted a piece about the size of a business card. I considered using my jigsaw but ended up using the Fein Multimaster which did a "fine" (lol) job of neatly cutting the sample for matching. The guy at the Fiberlay showroom was great, just the right kind of friendly gray-haired-guy-in-a-ponytail who you know has decades of experience with fiberglass. I've done a fair bit of fiberglass repairs with epoxy and just figured that would be the way to go again. He was quick to correct this plan. He says epoxy is great for many things and he wouldn't use anything else when bonding to wood, but for this and most jobs cloth and polyester resin is the right answer. And it's less costly, cures faster, and then there is the little detail that gel coat won't bond to epoxy...oops my plan had a fatal flaw! He did evince some respect at my knowledge that the curing process is exothermic and that the patch should be started from the largeest size and go smaller, to get the largest bonding surface. I was encouraged by his reassurance that fairing it all with a little bondo will be fine before applying the gel coat. 3 days later, my own personally branded shade of off-white waxed gel coat was ready for pickup.
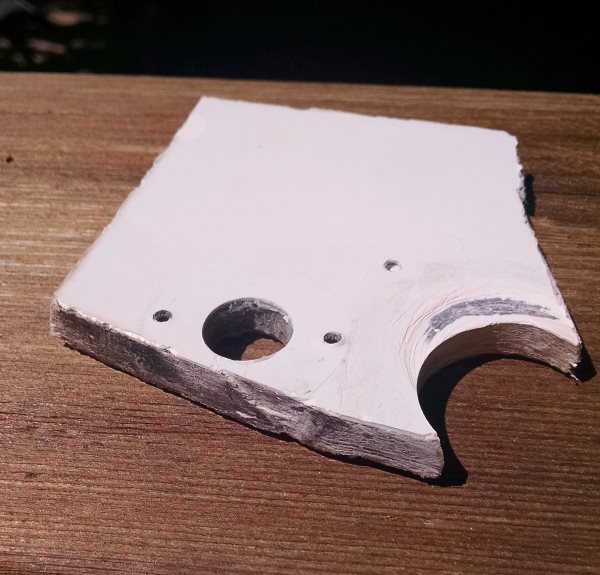
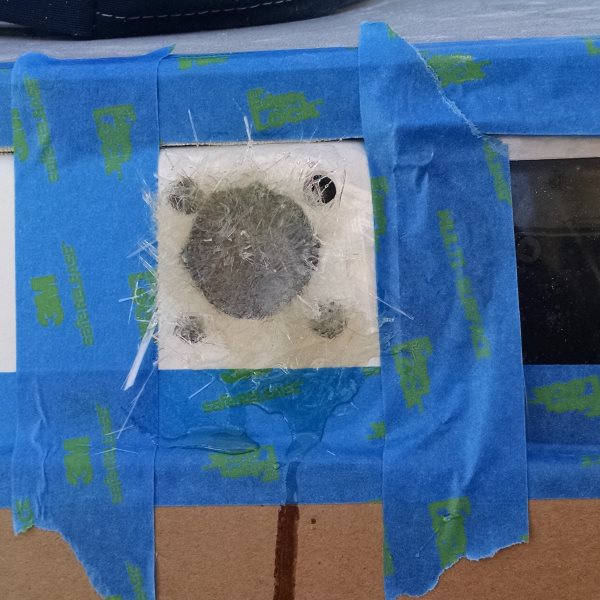
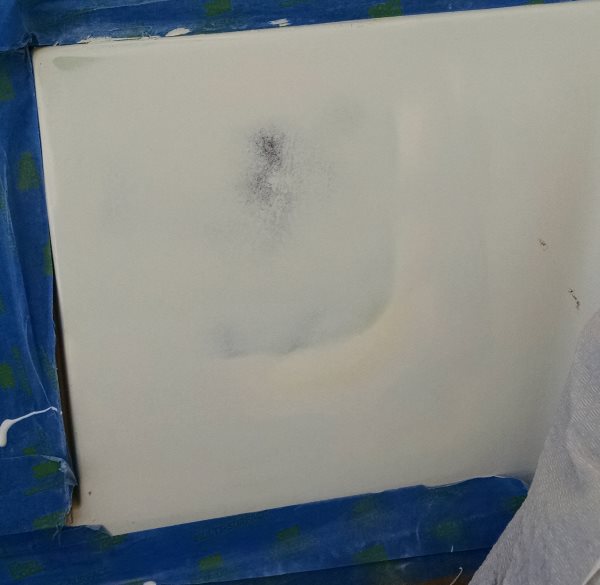
There are only two holes bigger than screw holes, and one of them isn't very large at all. For the small one, I just beveled the edge a bit, backed it with duct tape from the inside, and did a best efforts fill job with scraps of fiberglass cloth, matt, and resin. The larger one got a backer of cardboard and duct tape, sealed tight on the inside to guard agains resin drips, and with a drop cloth in place just in case. The layup was pretty straighforward. I just wish I had been able to get more of a bevel on the upper side of the big hole, but there just wasn't room. Ideally you want a 12:1 bevel, so for my 5/16" patch I should have ground out a bevel a full 4.5 inches all around. If it was in the hull or topsides I certainly would have, but in this area I did the best I could and I think it will be fine.
Ready to sand
Autopilot wiring jack
I ended up making two quick convenience runs to the Shilshole West Marine. Boy their prices blow, but you can't beat the convenience of the location when you just need a tube of sealant, hose clamp, or other small part. I bought some fresh 3M Premium Marine Filler, aka boat bondo when I found my 5 year old can was a bit compromised. That was about $50. And then there was the stop for a handful of foam brushes and mixing cups for almost $20, which really hurt as I had at least a dozen back in my basement workshop.
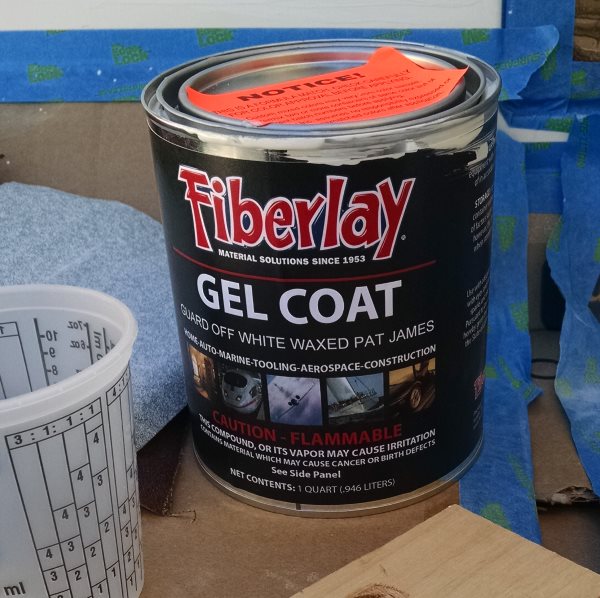
"Waxed Pat James" ...ask for it by name
Faired
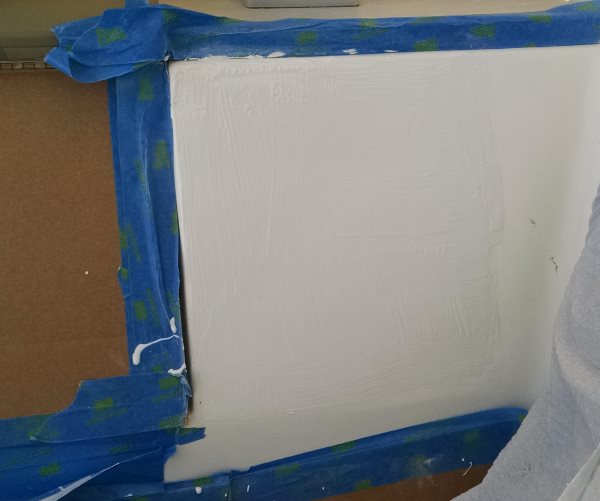
Gelcoat applied. Odd stuff. It really doesn't run or sag
Finished project
What were the results? From a utility perspective, A+. The holes are filled and faired nice and smooth and the cockpit is much more ergonomic and comfortable. From a cosmetic perspective...more of a C or D. It ain't bare fiberglass, but the color match isn't quite perfect and there was the issue that when all is said and done, I'm pretty sure the cockpit had been painted with Awlgrip, the same as the topsides. There is a distinct creamier-yellower shade under the white, and the guy at Fiberlay did a little scraping of my sample and thought it looked like paint over gelcoat.
This project was a real learning experience, and although I went into it with a pro-gelcoat bias, mostly owing to my frustration over the lack of repairability of my Awlgrip topsides, paint is really the better solution to this problem. One of the things I learned about gelcoat is that it makes a lot of sense when you are building a new boat from a mold. You lay down gelcoat first and it pops out nice and smooth and just needs a buff to a shine. Custom boat builders who don't use molds also don't use gelcoat, they use paint. That was a bit of an epiphany.
The real solution will be to re-paint the cockpit in general. I am looking into products like Awlcraft and Perfection that are possible to apply by hand with good results. A project for another day.
Share on Twitter Share on Facebook
Comments
There are currently no comments
New Comment